Posts

Showing posts from March, 2022

Game Jam- Report

Image
I had no idea what a game jam was when I first heard about it, but the more I learned about it, the more captivated I became. I liked the idea of different people from different courses getting together and making a game. I had a great time at the game jam as a whole because it was a great experience. We worked really well as a team to create a really good strong game, and I was very thrilled with the outcome.I was a big Sims fan when I was 10 or 12 years old. I used to spend my weekends playing it, I do play games on my PS4, such as Miles Morales or GTA V. I could spend hours and hours playing them. I could also go months without playing online games. I would not cast myself as a gamer.  I really like the game jam style, even though students from TUD courses like Business and Language Game Design, as well as CDM students, participated in the game jam. My teammate Kevin and I were hoping for a game design student to join our team, but we did not get one.   On the day of the game jam, o

Tutorial 07

Image
  Source: Here We're just about accomplished with the Ruby 2D game in this week's tutorials. All that remains is to add audio to the game to make it more exciting and fun. The music in a game makes it a little more delightful, and players enjoy it when there is good music in a game. the audio tutorial was simple and easy to follow. I noticed that we would need to link the music we installed as an mp3 to the camera in the game if we wanted it to play repeatedly throughout the game. The second tutorial wrapped how to build and run the game. Now that the game is finished, I needed to create a standalone application that you could upload to a digital store. So that people can play the game without having to install the Unity Editor and all of your assets on their machine. I'm so happy and content that everything is working so well, and I'm so proud of how much work I put into making the game. Following the tutorials is not an easy task, and even a minor error can have serio

Tutorial 06

Image
  Screenshot I had to develop a user interface to my game for this week's tutorial so that I could view Ruby's health on screen. I learned about the UI in Unity, which uses a GameObject called a Canvas component to create UI-specific components such like graphics, sliders, and buttons. A Canvas specifies how each UI element should be presented on screen and is responsible for rendering all UI components that are its children. Using the UI editor was a breeze for me. It was challenging for me to create a health bar mask. It was really difficult for me to resize and shift its anchors to match the empty space in  UI where the Health bar should sit. The step-by-step instructions on the Unity website were not clear enough for this section, so I watched a YouTube video of someone at this stage. The video was very helpful, and I would not have been able to complete this week's tutorial without it. I can now see my game coming together, and I can't wait to see how it works out.

Unity Tutorial 05

Image
  Because the game has only functioned on a single screen thus far, I've been employing a static camera. In this lesson, I used the Cine machine Unity package to manipulate your camera without having to write any code. I wanted the camera to follow Ruby, the protagonist, as they begin to explore a larger universe. I launched the Package Manager in the Unity Editor (menu: Window > Package Manager) to add the Cinemachine package. Then I went to the Cine machine entry and hit on Install. Cinemachine makes it easy to create elaborate 3D camera setups with multiple cameras, along with movement and cuts between devices. Cameras in applications like Unity can occur in two ways: 1. Perspective: When all lines heading away from the camera converge at a point, objects appear smaller as they move more away. This looks like a straight path that disappears into the distance and converges into a single point on both sides. 2. Orthographic: When all parallel lines remain parallel, it is said t

Unity Tutorial 04

Image
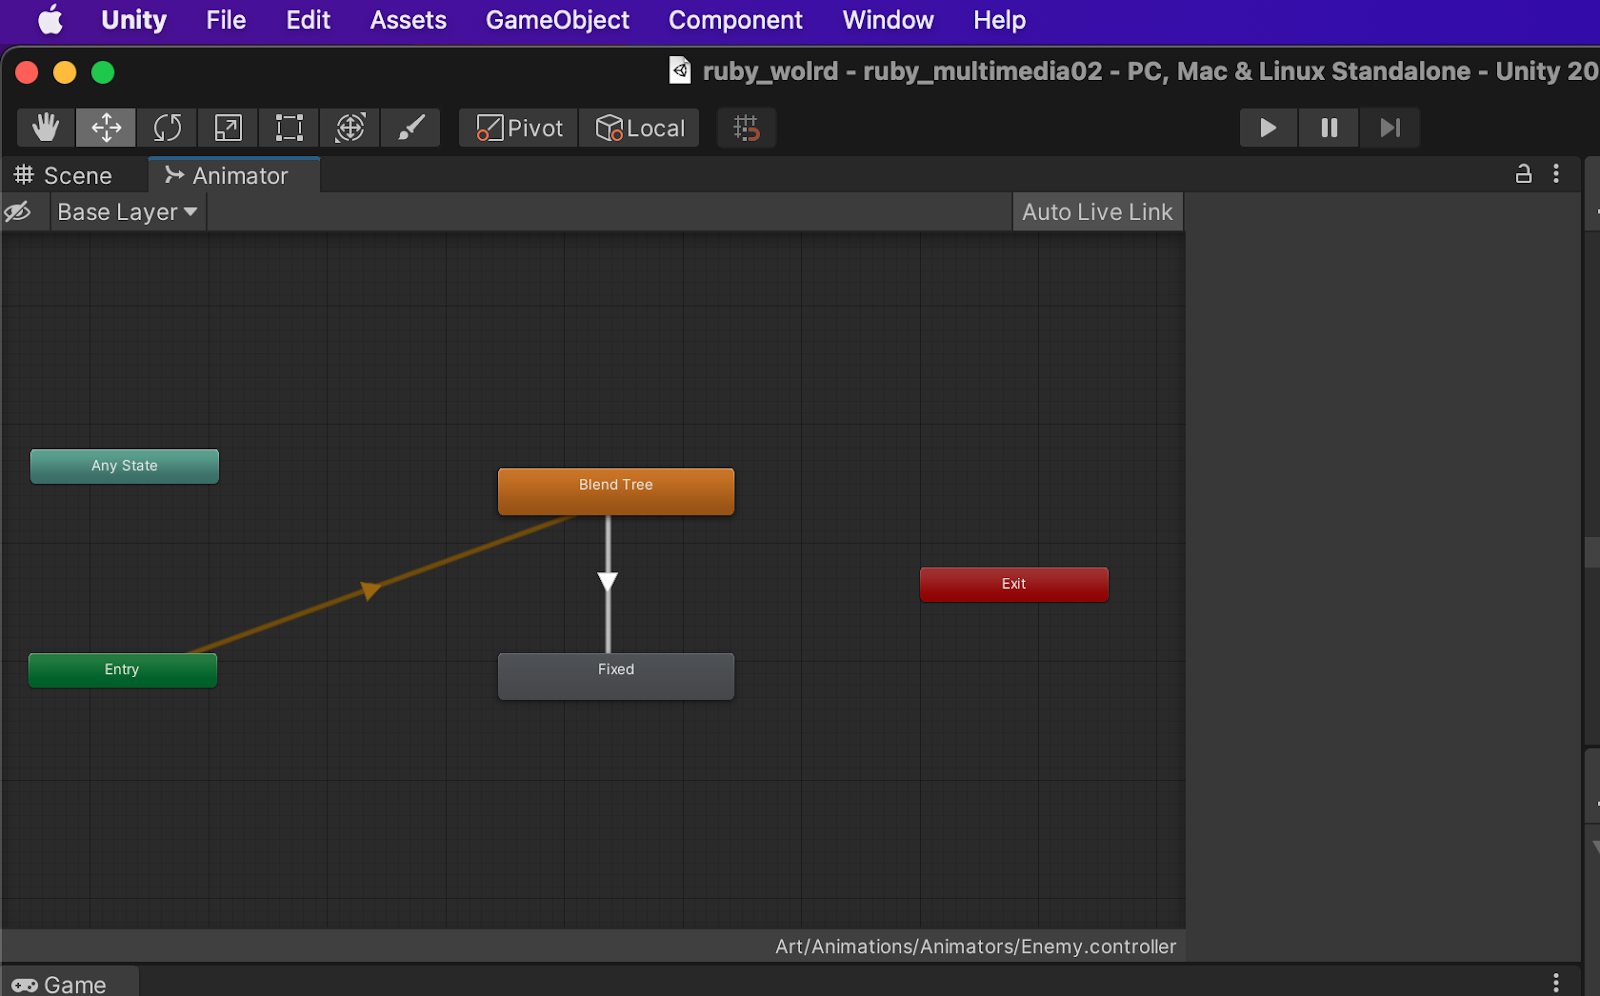
I must add, though, that it was a lengthy tutorial! It took me a long time to figure it out. Sprite Animation was the first part, and World Interactions Projectile was the second. It was all about how to make the game's player moves. This section was extremely difficult for me, and I had to keep rereading the instructions in order to understand.  Adding animations was extraordinarily challenging for me. The Sprite Renderer does indeed have a section called Flip. I recreate the Left animation by creating a simple clip, dragging the 4 sprites, and setting.  I then go to Add Property and click the triangle next to Sprite Renderer, then the Plus icon next to Flip X: Then, on frame 0 and 4, I set it to true by checking the Toggle next to the Property name, meaning that the Flip stays checked throughout the animation: Screenshot When it came to building the controller, I continued making blunders. The Controller determines how the animations are connected, such as how to transition from