Unity Tutorial 04
I must add, though, that it was a lengthy tutorial! It took me a long time to figure it out. Sprite Animation was the first part, and World Interactions Projectile was the second. It was all about how to make the game's player moves. This section was extremely difficult for me, and I had to keep rereading the instructions in order to understand.
Adding animations was extraordinarily challenging for me. The Sprite Renderer does indeed have a section called Flip. I recreate the Left animation by creating a simple clip, dragging the 4 sprites, and setting. I then go to Add Property and click the triangle next to Sprite Renderer, then the Plus icon next to Flip X: Then, on frame 0 and 4, I set it to true by checking the Toggle next to the Property name, meaning that the Flip stays checked throughout the animation:
 |
| Screenshot |
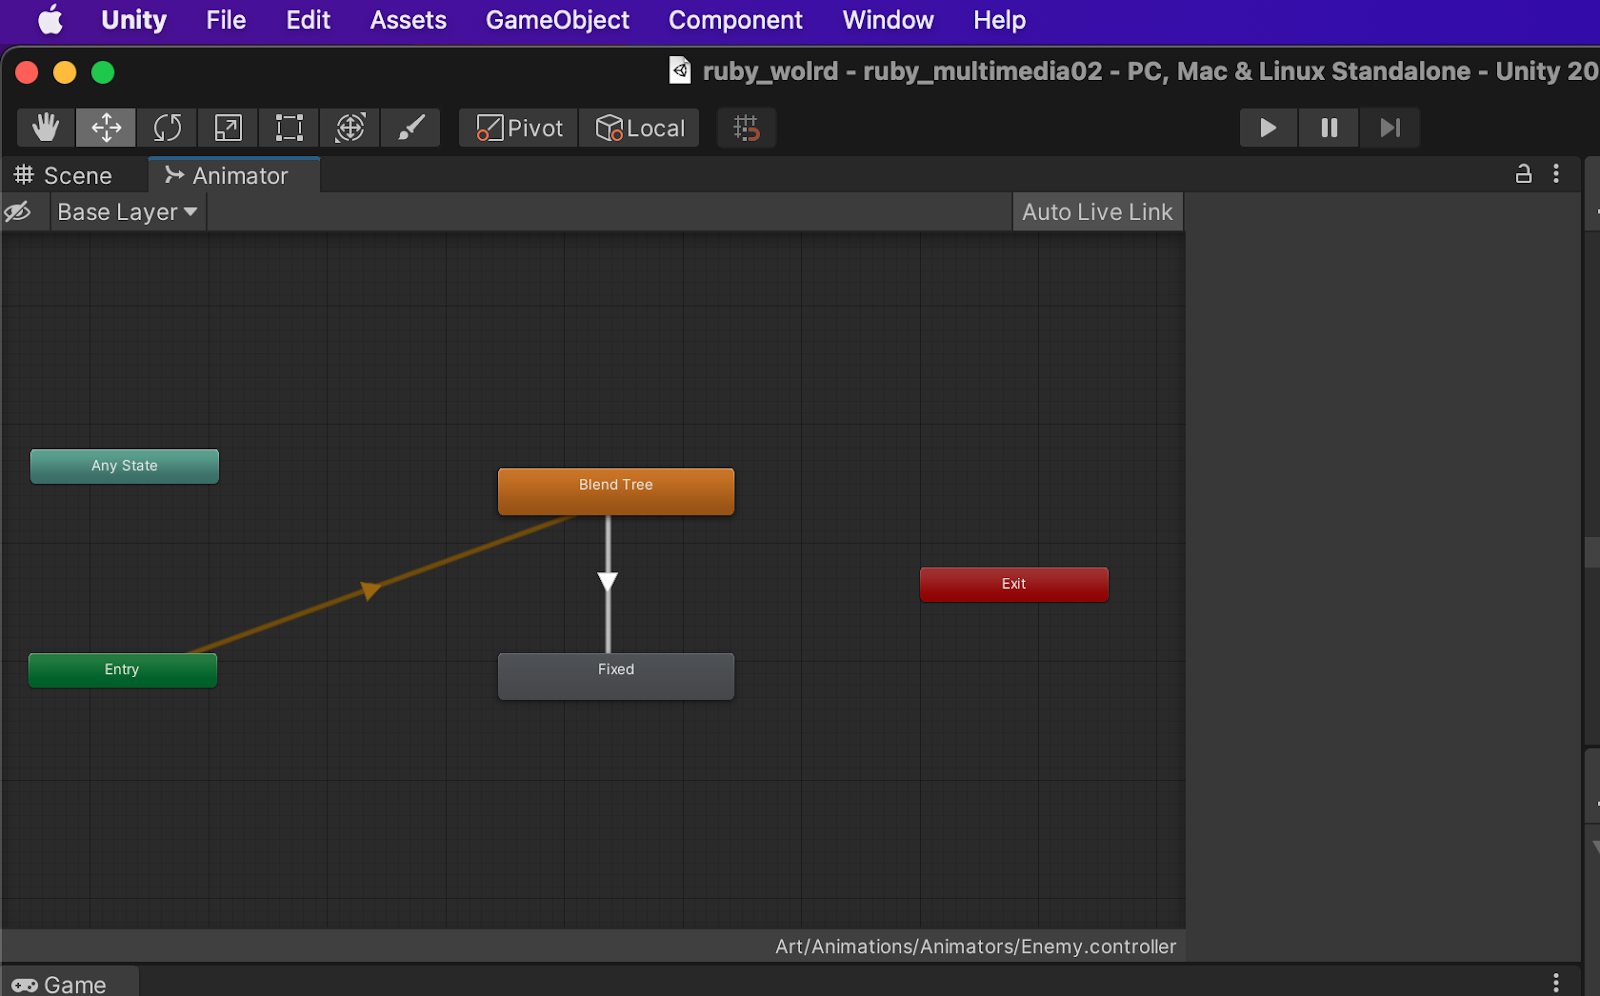
When it came to building the controller, I continued making blunders. The Controller determines how the animations are connected, such as how to transition from one to the next.
The Layers and Properties are on the left side of the Animator, while the Animation State Machine is on the right. 3D animations benefit from layers since they allow you to use animations on different portions of the character.I was having some trouble with section for some reason.


Comments
Post a Comment