Posts

Publishing Task 3

Migration When I was migrating my website I used a plugin called All in one WP Migration. This allowed me to download my website files from the local host. I then used Infinity free to host my online website and to give my website a domain. Once my infinity free account started working, I had all my files in the file manager. Once Infinity free accepts my domain name. I then created another WordPress account and downloaded the All in one WP Migration plugin. This allowed me to import my website file from the local host website.   I had a problem while importing my website. The progress bar was stuck on 76% and would complete importing even though I paid for the website to be hosted online. Eventually, after numerous attempts and hours, it finally worked and my website was online. Link to website: http://alexanderpartridge.epizy.com/ Theme The theme I used for my website was called Inspiro.   I chose this theme since it felt fitting for the straightforward website design I was ...

Publishing task two

Image
Section A- What I will Build? In order to attract tourists to the city of Amsterdam, I want to design a theme-based website. I want to develop a website that will provide visitors with information about Amsterdam. I want everyone who visits my website to find it simple and straightforward to use. The action of booking tours and vacations will be the first UX element I add to my website. A comment area with a review function for the excursions and tours will be the second UX feature Section B- Why Build It ? As stated above I want my website to be easy and accessible for my user to use. The website is obviously original and will fulfil the needs of the user and what they are looking for.   The website's landing page will be enticing and draw visitors to the content they are seeking. The landing page will contain a nice visual slideshow of Amsterdam city and will have a booking button clearly visible. The user can utilise the button to find what they're seeking exactly. They wil...

Doing

Image
 The reading task for multimedia was definitely a challenge this semester. Researching topics was not my forte and I had to adapt and learn quickly.  The only thing that pushed me through the reading was my interest in the topic. My topic was on broadcasting game streaming so I looked at articles and Google Scholar books related to this topic. When I was doing my research, I looked at the history of broadcasting and I also looked at game streaming and why people game stream and how viewers interact with game streamers when they are live streaming.  As I stated previously reading was deafly not my forte and I really struggle when it came to Reading really big articles and books. I know this is worthwhile doing as I know many essays will happen in the third year.  Once I submitted my final output for reading I was super content with all the research I have got and I think I had made a very strong academic piece to the book. I'm so glad I came to the final hurdle in wit...

Game Jam- Report

Image
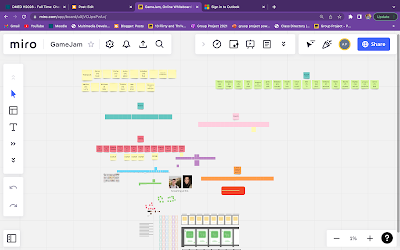
I had no idea what a game jam was when I first heard about it, but the more I learned about it, the more captivated I became. I liked the idea of different people from different courses getting together and making a game. I had a great time at the game jam as a whole because it was a great experience. We worked really well as a team to create a really good strong game, and I was very thrilled with the outcome.I was a big Sims fan when I was 10 or 12 years old. I used to spend my weekends playing it, I do play games on my PS4, such as Miles Morales or GTA V. I could spend hours and hours playing them. I could also go months without playing online games. I would not cast myself as a gamer.  I really like the game jam style, even though students from TUD courses like Business and Language Game Design, as well as CDM students, participated in the game jam. My teammate Kevin and I were hoping for a game design student to join our team, but we did not get one.   On the day of t...

Tutorial 07

Image
  Source: Here We're just about accomplished with the Ruby 2D game in this week's tutorials. All that remains is to add audio to the game to make it more exciting and fun. The music in a game makes it a little more delightful, and players enjoy it when there is good music in a game. the audio tutorial was simple and easy to follow. I noticed that we would need to link the music we installed as an mp3 to the camera in the game if we wanted it to play repeatedly throughout the game. The second tutorial wrapped how to build and run the game. Now that the game is finished, I needed to create a standalone application that you could upload to a digital store. So that people can play the game without having to install the Unity Editor and all of your assets on their machine. I'm so happy and content that everything is working so well, and I'm so proud of how much work I put into making the game. Following the tutorials is not an easy task, and even a minor error can have serio...

Tutorial 06

Image
  Screenshot I had to develop a user interface to my game for this week's tutorial so that I could view Ruby's health on screen. I learned about the UI in Unity, which uses a GameObject called a Canvas component to create UI-specific components such like graphics, sliders, and buttons. A Canvas specifies how each UI element should be presented on screen and is responsible for rendering all UI components that are its children. Using the UI editor was a breeze for me. It was challenging for me to create a health bar mask. It was really difficult for me to resize and shift its anchors to match the empty space in  UI where the Health bar should sit. The step-by-step instructions on the Unity website were not clear enough for this section, so I watched a YouTube video of someone at this stage. The video was very helpful, and I would not have been able to complete this week's tutorial without it. I can now see my game coming together, and I can't wait to see how it works out.

Unity Tutorial 05

Image
  Because the game has only functioned on a single screen thus far, I've been employing a static camera. In this lesson, I used the Cine machine Unity package to manipulate your camera without having to write any code. I wanted the camera to follow Ruby, the protagonist, as they begin to explore a larger universe. I launched the Package Manager in the Unity Editor (menu: Window > Package Manager) to add the Cinemachine package. Then I went to the Cine machine entry and hit on Install. Cinemachine makes it easy to create elaborate 3D camera setups with multiple cameras, along with movement and cuts between devices. Cameras in applications like Unity can occur in two ways: 1. Perspective: When all lines heading away from the camera converge at a point, objects appear smaller as they move more away. This looks like a straight path that disappears into the distance and converges into a single point on both sides. 2. Orthographic: When all parallel lines remain parallel, it is said t...

Unity Tutorial 04

Image
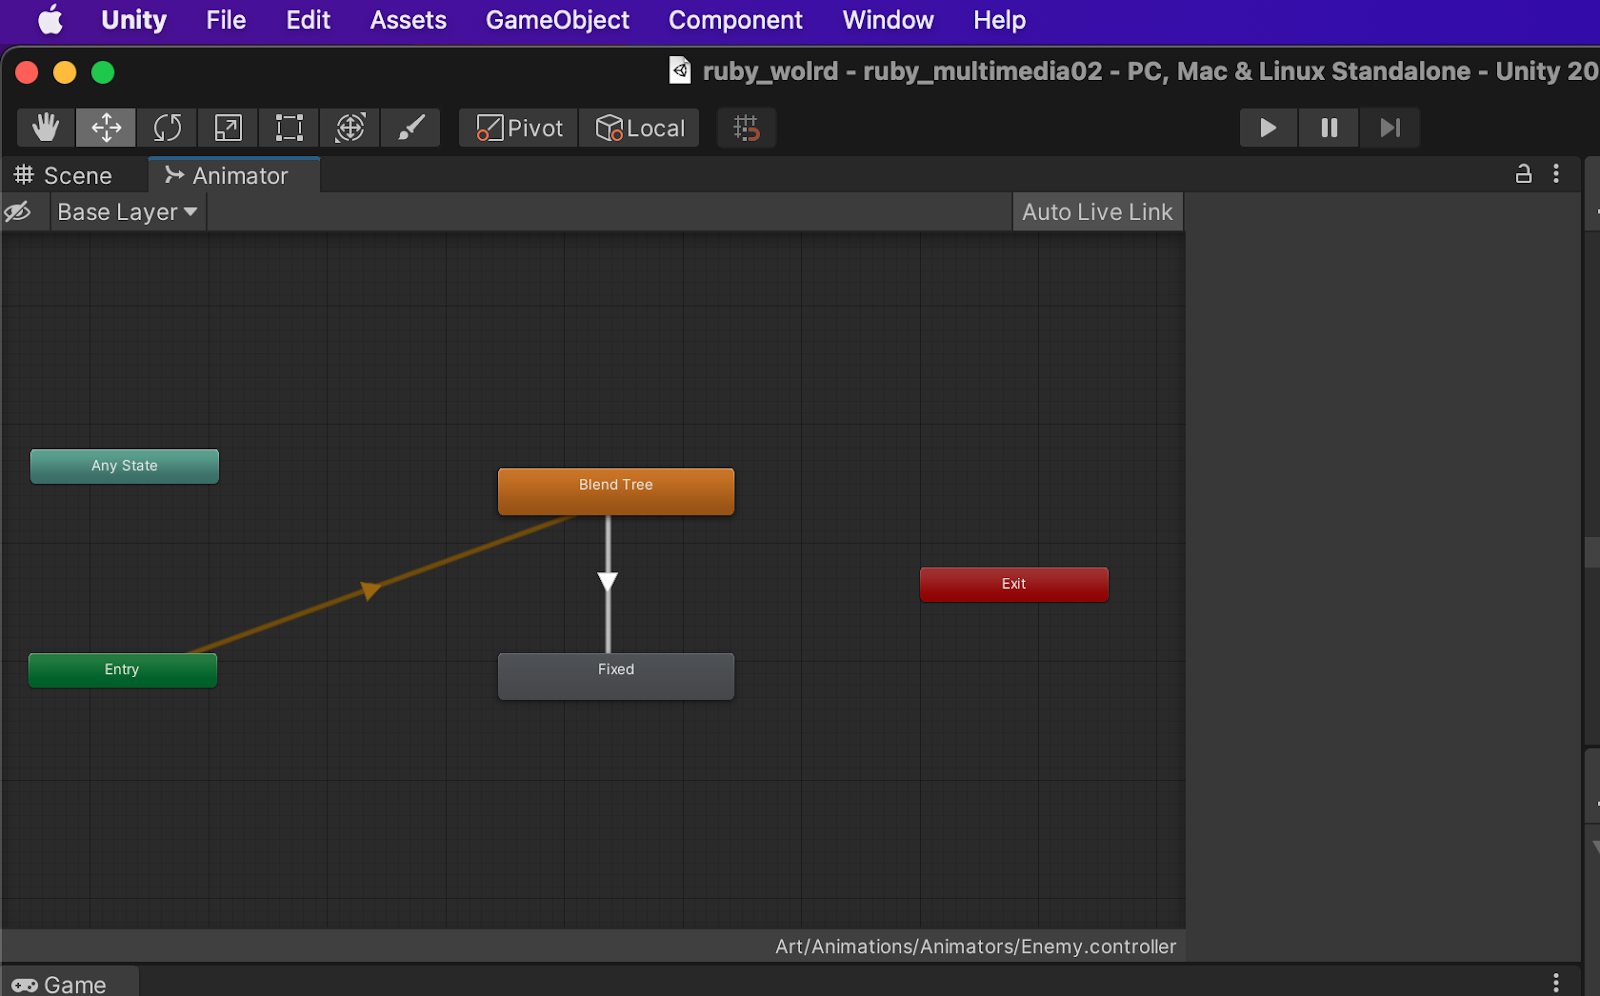
I must add, though, that it was a lengthy tutorial! It took me a long time to figure it out. Sprite Animation was the first part, and World Interactions Projectile was the second. It was all about how to make the game's player moves. This section was extremely difficult for me, and I had to keep rereading the instructions in order to understand.  Adding animations was extraordinarily challenging for me. The Sprite Renderer does indeed have a section called Flip. I recreate the Left animation by creating a simple clip, dragging the 4 sprites, and setting.  I then go to Add Property and click the triangle next to Sprite Renderer, then the Plus icon next to Flip X: Then, on frame 0 and 4, I set it to true by checking the Toggle next to the Property name, meaning that the Flip stays checked throughout the animation: Screenshot When it came to building the controller, I continued making blunders. The Controller determines how the animations are connected, such as how to transition ...

Conventions and Syntax

Image
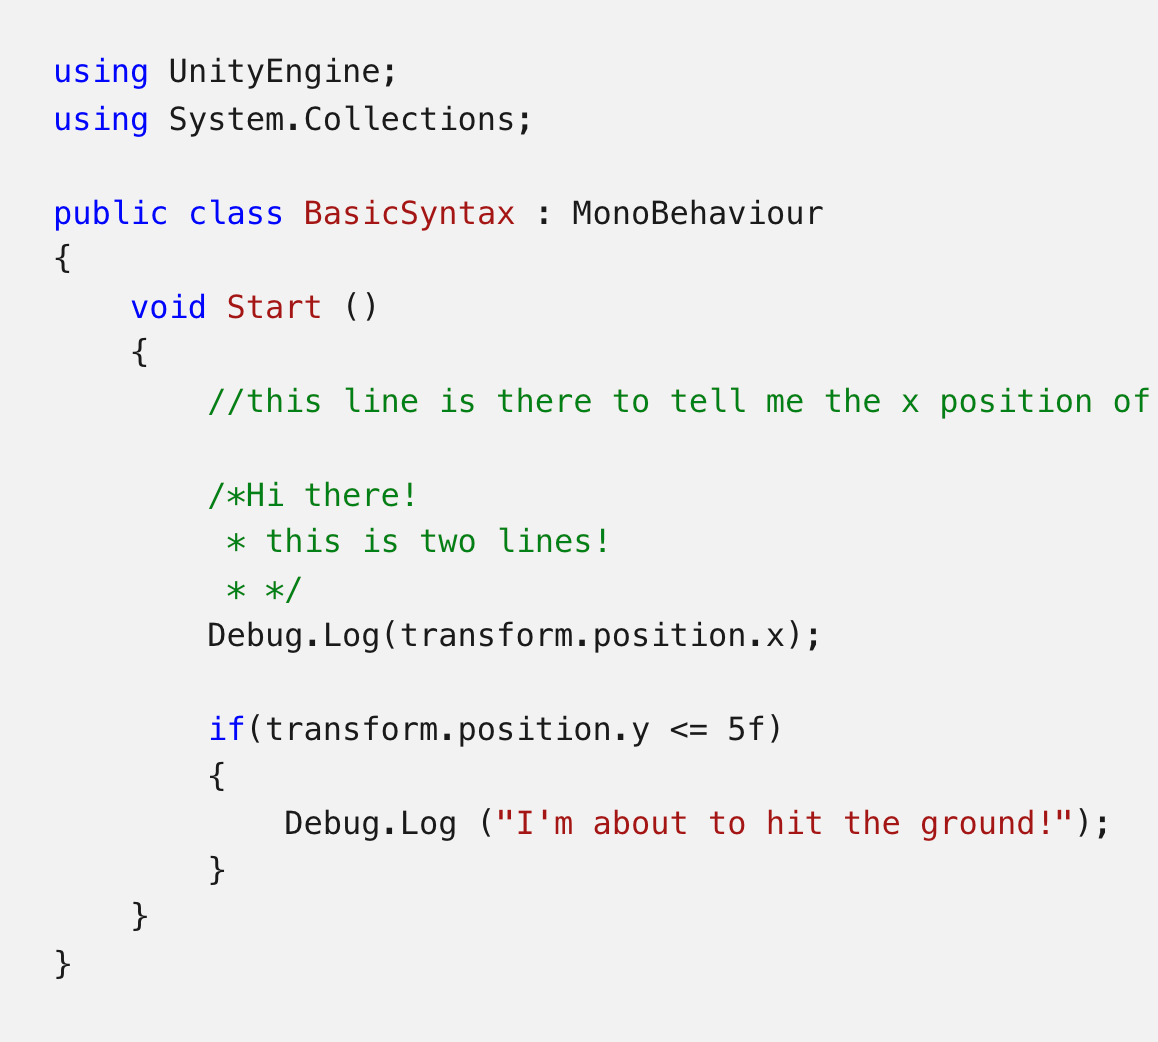
The structure of a language is referred to as coding syntax, and some standards are necessary for learning to read and write code. I can see why the dot operator is compared to an address in the video. You may effectively separate or access elements of a compound unity with the dot operator. A compound object is one that is made up of a variety elements. Transform, for example, contains position, rotation, and scale, so the dot operator is used to select position. Semicolon is another component of syntax. It is always at the end of a line and is used to conclude statements. Indentation is important but optional in Unity coding, I found. Indentation facilitates code easier to read, and you may add one by pressing the tab key An Example of code that embeds Convention and Syntax   Source: Unity 

Beginner Scripting and Variables and Functions

Image
Source: Unity    What are scripts ? Scripts are function components which might be applied to GameObjects and modified via the Unity Inspector. A script is a collection of C# code that runs in the "play" state. Scripts can also be used to modify the development process in Unity by creating tools. Variables and Functions  Consider variables to be boxes containing specific information. We begin our variable definition by identifying the box type. It could be a whole number or an inc (integer). The declaration is the first portion, and the initialisation is the second. You just provide start and void update functions when you construct a script. When the item in this script is attached, start is called. To gain any value in the game, use a Dbug.log

Unity Tutorial 03

Image
  Screenshot of my Unity  This week's tutorials were heavily code-based, making it difficult to comprehend. My character now has a health bar, as well as a mechanism to recover health. Triggers were employed to do this.I learned how to apply and use triggers more effectively.Triggers are a unique type of Collider. They do not however stop you from moving, but the Mechanics System still checks to see if you'll collide with them. When your character approaches a Trigger, it sends you a notification so you can deal with it. I applied the same knowledge in the other tutorial to harm the character when they were in a specific zone. I added a Ruby-damaging zone. This will be identical to the health collectible, with the exception that the health will be reduced by one and it will not destroy itself when the character activates it. Overall, this instruction learned many things, but I still need to go over the code again to fully comprehend it.

tech Task

Image
  I really enjoyed this tech task, I loved browsing the images on the website to find the one I think would be appropriate to use. I think I will go back to this website again to make a few more memes for my friends and tell them about it. 

Tutorial 02

Image
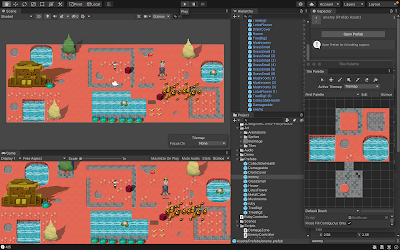
  Screenshot of my Unity In the first part of this tutorial, we had to Decorate the World.  I added the metal box to the scene, then in the project settings and graphics I changed the Transparency Sort Axis coordinates: x = 0 y = 1 z = 0. This instructs Unity to draw Sprites based on their y-axis position. When I select the Ruby GameObject, In the Inspector, I Change the Sprite Sort Point to Pivot. The single Sprite Pivot was then positioned to the bottom. I Adjusted the Pivots I set the Custom Pivot in the Sprite Editor to 0.5 in x and 0 in y. This section was new to me, yet it was quite simple to comprehend. I then created a prefab folder and dragged the assets to build my environment.  Overall this tutorial was quite simple to do and understand and had no problems. The second tutorial was World Interactions. I changed the script for my character Ruby's controller so that she can clash with the world instead of passing through objects. I did this by utilising another po...

Planning

Image
Source: Explain That Stuff  In this weeks we had a presentation with Lindsey Dowling,  she covered how to book into the library and also how to access and use the library's website and also how to use Moodle and the LibGuideds  Linsey also covered the topic about Academic skills, the types of sources and how to find them, the keyword searching method, Search skills Analysing & organising your search results and most importantly Referencing. From this presentation I have learned to mix and match the materials. To be inclusive and to add to your research, it's fine to use non-academic and non-text sources. Another topic Lindsey covered was Plagiarism. I learned there are two types of plagiarism: Intentional and Unintentional. I also discovered it's crucial to note that the Harvard Referencing System has two steps, and you must complete both: Citations  Reference list.  Also during this week we were introduced into the Research Matrix Method. It is a usefu...

Unity Tutorial 01

Image
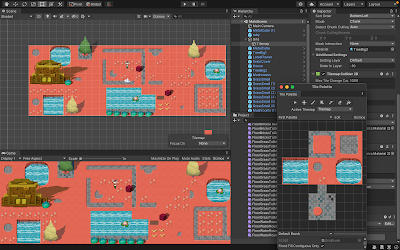
 I revisited the Unity tutorials this week. This time was a little different because we had three options to choose from. I chose the path of making a 2D game. I chose this because I built a 3D game last semester but never had the opportunity to build a 2D game. I also wanted to expand my understanding of 2D game development.Ruby's Adventure: 2D Beginner Project was the name of the game I made.  The first part aided us to get us started. I Create a new scene, add the main character (Ruby), and wrote  first screenplay to move the main character in the first segment. All of this came naturally to me because I had already completed this process multiple times throughout the previous semester. In the second section of the lesson, I gave the game some keyboard input. First, I changed my code to have Ruby on the X axis from left to right. Then I wrote code to have Ruby go from left to right and up and down the screen. I learned how to Paint on Tilemap with Tiles, generate Til...

Unity Tutorial 10

Image
source: Unity   Unity Tutorial 10 For this week tutorials, I watched Unity unit 3.3 and 3.4  to add the final finishing touches to my game   Firstly, I wanted to add animations to my player. So in order to do that, t he character will have three main animations due to the animator controller's animations, which will appear in three different game states. Running, jumping, and death are among these states, all of which transition smoothly and are timed to fit the game.    Thankfully, all this went smoothly for me and it worked out. It really makes the game come alive and I was really impressive and happy with the end result.  In Unity 3.4 t he player will be welcomed by music as they run around the area, kicking up dirt particles in a spray behind them. As they jump, a springy sound will play, followed by a boom as they crash, bursting into a cloud of smoke particles as they tumble over. Again, I was super content with the results.  I also watched ...

Beta

Image
Beta   For this weeks project, I finally added the bells and whistles and finishes touches for the game.  Firstly, I was having problem with the sky background and it appear to look weird and I did not like how it turned out. So to fix the problem I imported the background from the unity store and I saw a city background which was perfect and fitted nice to the theme of my game.  Secondly, When I imported the character from M ixamo, I forgot to import the animations. My old character moved from side to side and jumped but did not have the running animation, so to fix this problem Imported the character from Unity tutorial unity 3. Now my character has a nice running animation.  Once i fixed the main problems, I finally imported free music for my game, and also sound animations when the character is jumping and when the player crashes into the object. I also added the explosion animation when my character collides with the obstacle.  When my player collides with ...

Games Testing

Image
  flickre Game testing is an important step in ensuring maximum performance and quality in the final output.The goal of game testing is to find defects and keep track of software products' documentation. Here are seven steps to game testing techniques.  1.Functionality testing  2.Combination  testing  3. Ad Hoc testing  4.Compatibility testing  5.Clean room tree  testing  6.Regression  testing  7.Performance  testing  I have learned that in this modern world, technological advancement is a constant, and the games business is frequently at the forefront of technological advancement. However, one must first acknowledge the need for so many tests, so that they will aid in the correction of important faults and make one's life more convenient. In this video the guy recommends  to start game testing as soon as you have a working prototype. I agree, at the beginning when I was creating my game I did not game test which lead...

Fake Social media Tech Tip

Image
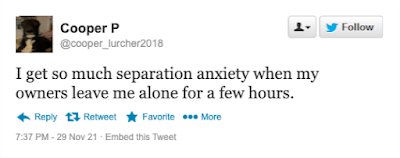
 Fake Social media For the fake social media generators for Twitter I created mine on    Simitator .  It was super easy to use and i wanted to  incorporate my dog in this task again.  I really enjoyed creating this. 

Games Stories

Image
source: flickr While doing research and reading publications, I came to the conclusion that in order to build a unique and engaging narrative in your game, there must be a key denominator for the player to engage in. This article outlines what succeeded in previous story styles as well as what makes the new gaming tale type unique. A game isn't the same as a movie. While reading this , I noticed that there are several areas in game storylines where we've gone wrong so far. The bulk of the problems arise from common misunderstandings. 1. Dialog is the core of a story.  2.It makes absolutely no difference what the story is.  I knew including conflict in your story, whether you're creating it for any type of media is a must. From the start, conflict is a factor of the structure and embedding in the development process. I also discovered classical story structure should be examined by game creators because it is simple and effective. This tool will not spark your creativity,...